
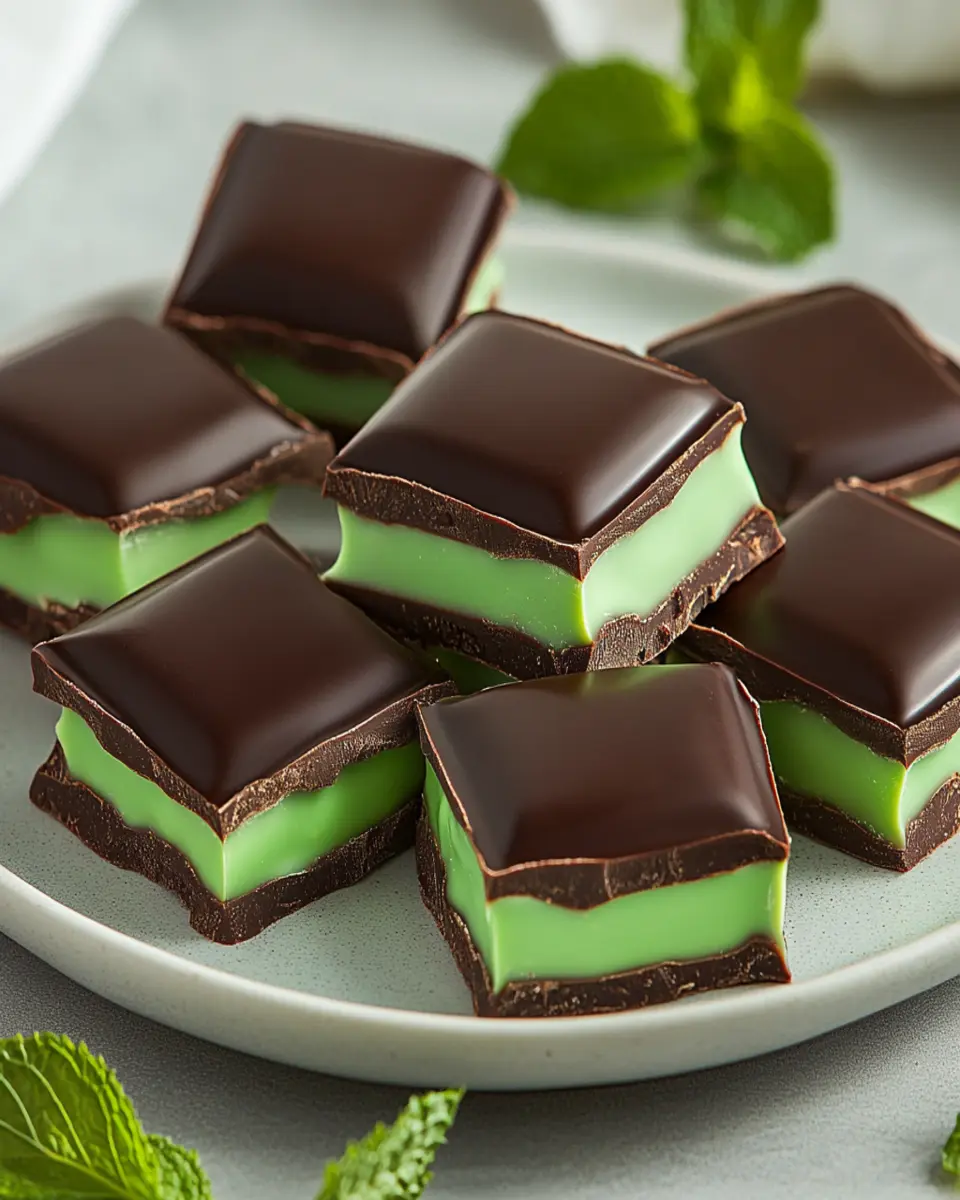
Introduction to Homemade Andes Mints
Homemade Andes mints are a delightful blend of creamy mint filling enveloped in a rich chocolate coating. Perfect for satisfying a sweet tooth or impressing guests, these treats bring the classic mint chocolate experience to your kitchen. Whether you’re hosting a gathering or just craving a sweet indulgence, this easy no-bake recipe allows you to create a batch of these delicious mints in just 30 minutes. With simple ingredients and straightforward instructions, making these candies at home is not just rewarding but also a fun activity to share with friends and family.
Why Make Your Own Andes Mints?
Crafting your own Andes mints gives you the advantage of controlling the ingredients and flavors. You can tweak the mintiness to your liking or even experiment with different chocolate types. Plus, there’s something special about homemade treats that store-bought candies just can’t replicate. Imagine the joy of cutting into a fresh batch of your own Andes mints, knowing you’ve created something delightful from scratch. So, why not treat yourself and your loved ones to these homemade delights? They make for a sweet surprise in lunch boxes or as a post-dinner treat, and they’re sure to impress anyone who tries them!
Key Ingredients
Creating delicious homemade Andes mints starts with a few key ingredients that come together to deliver that signature flavor and texture.
Chocolate Chips (2 cups)
Rich chocolate chips are the star of this recipe, providing the perfect coating for your mints. Opt for semi-sweet varieties for a balanced sweetness that complements the mint flavor beautifully.
Sweetened Condensed Milk (1 cup)
This creamy ingredient adds richness and sweetness, helping to create the smooth filling that makes Andes mints so delightful. It also acts as a binder, ensuring the filling holds together perfectly.
Peppermint Extract (1 teaspoon)
A vital player in achieving that refreshing mint flavor, peppermint extract brings a burst of coolness to each bite. Adjust the quantity according to your taste for a more intense mint experience.
Powdered Sugar (2 cups)
Powdered sugar is crucial for achieving the desired sweetness and texture of the mints. It ensures the filling is not only sweet but also has the right consistency to be easily shaped.
Unsweetened Cocoa Powder (1 tablespoon)
This ingredient adds depth and a slight bitterness to the filling, rounding out the sweetness and enhancing the chocolate flavor of the mints. It’s a small but impactful addition that balances the overall taste.
Combining these ingredients allows you to whip up a delightful batch of homemade Andes mints. The result? A sweet, minty treat that’s sure to impress your friends and family!

Why You’ll Love This Recipe
Homemade Andes mints are the perfect blend of creamy mint and rich chocolate, making them a delightful treat for any occasion. With just a few simple ingredients and easy instructions, you can whip up these delicious candies in no time. Whether you’re looking to satisfy your sweet tooth or impress guests at a gathering, this recipe is sure to delight.
Quick and Easy Preparation
One of the best aspects of this recipe is its simplicity. In just 30 minutes, you’ll have a batch of homemade Andes mints ready to enjoy. The no-bake method means you don’t have to worry about complicated baking processes, making it an ideal choice for young professionals and busy homemade-food lovers alike. Plus, the short prep time means you can easily fit this treat into your evening routine.
Customizable Flavor
Another reason to love this recipe is the ability to customize the mint flavor to your liking. If you prefer a stronger mint taste, simply increase the amount of peppermint extract. This flexibility allows you to tailor the mints to your personal preferences, ensuring that each bite is just how you like it. Imagine creating a batch that’s perfectly suited for your taste or even experimenting with different chocolate types!
Perfect for Sharing
Homemade Andes mints aren’t just delicious; they also make for a fantastic gift or party favor. Wrapped in decorative packaging, they can become a thoughtful gesture for friends and family. Sharing these homemade treats is a great way to spread joy and indulge in the satisfaction of creating something special from scratch. So, gather your ingredients and get ready to enjoy the sweet rewards of homemade Andes mints!
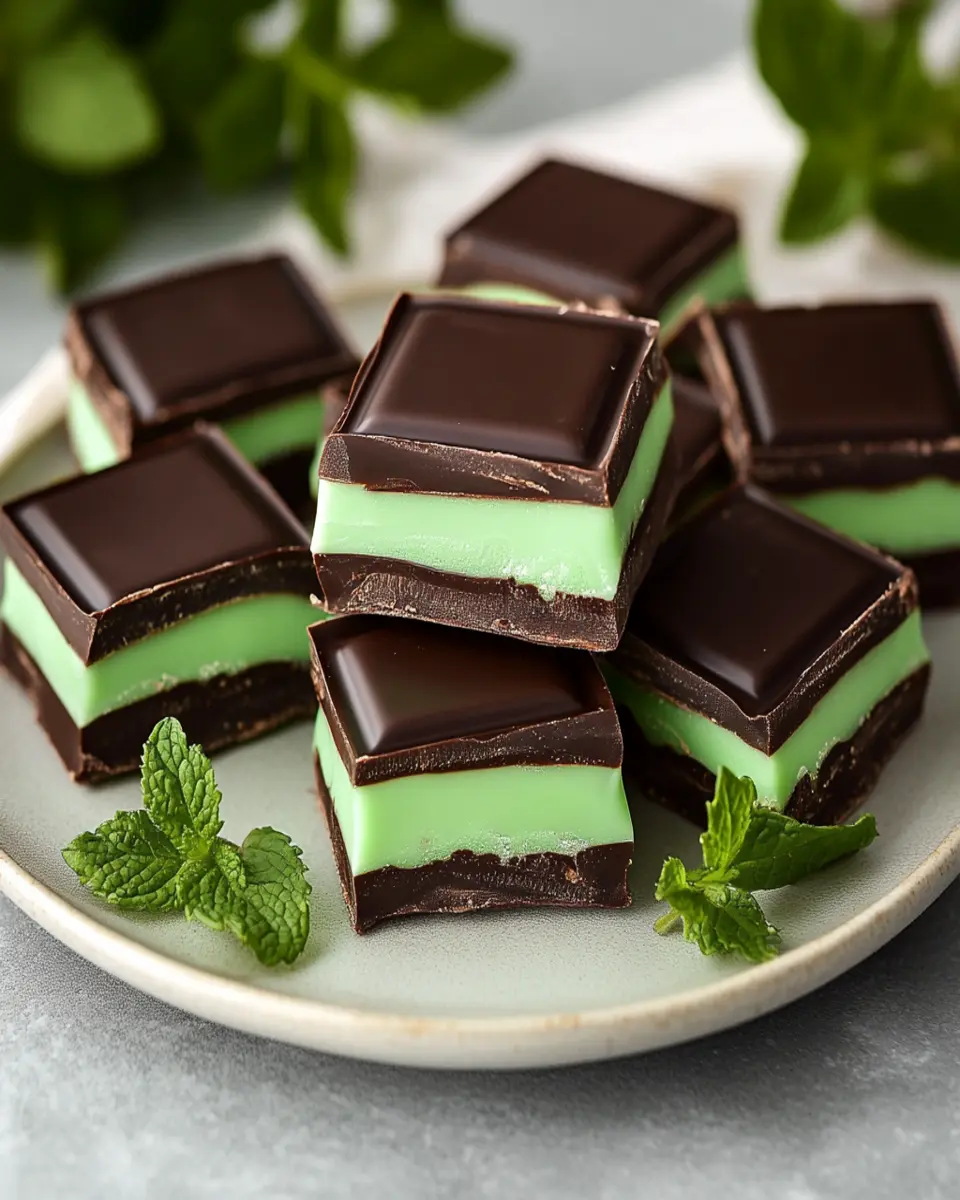
Variations
Homemade Andes mints can be easily customized to suit your taste preferences or to match different occasions. By experimenting with the ingredients and presentation, you can create a variety of delightful minty treats that everyone will love.
Chocolate Choices
One of the simplest variations is to swap out the type of chocolate you use. While semi-sweet chocolate chips are traditional, you can try dark chocolate for a more intense flavor or even white chocolate for a sweeter, creamier treat. Each option offers a unique twist on the classic Andes mint taste, catering to different palates.
Flavor Infusions
For those looking to get creative, consider adding flavor infusions to the mint filling. A hint of orange extract or a splash of vanilla extract can elevate the sweetness and add an exciting layer of flavor. You could also experiment with other extracts, such as almond or coconut, for a fun twist that complements the mint.
Decorative Touches
Presentation can also make a big difference! Try shaping the mints into fun forms, like hearts for Valentine’s Day or holiday-themed shapes during festive seasons. Additionally, you can sprinkle crushed peppermint candy or cocoa powder on top before the chocolate sets to add visual appeal and extra flavor.
These variations help you make homemade Andes mints your own, exciting both your taste buds and those of anyone you share them with. Whether it’s for a special occasion or just to satisfy a craving, these mints will surely impress!
Cooking Tips and Notes
Making homemade Andes mints is a delightful and straightforward process, but a few tips can help ensure your mints turn out perfectly every time.
Melting Chocolate
When melting chocolate chips, it’s crucial to do so over low heat to prevent burning. Stir frequently to achieve a smooth consistency, and consider using a double boiler for more even heating. This technique helps preserve the chocolate’s rich flavor and texture, making your mints even more enjoyable.
Achieving the Right Consistency
The filling should have a creamy yet firm texture. If you find it too soft, gradually add more powdered sugar until you reach the desired consistency. Conversely, if it’s too thick, a small splash of sweetened condensed milk can help soften it. This ensures your mints are easy to cut and have that melt-in-your-mouth quality.
Storage Tips
To keep your homemade Andes mints fresh, store them in an airtight container at room temperature. They can last for up to two weeks, but I bet they won’t last that long! If you live in a warm climate, refrigerating them can help maintain their shape and prevent melting.
These cooking tips will not only enhance the flavor and texture of your homemade Andes mints but also make the process smoother and more enjoyable. So gather your ingredients and get ready to create a sweet treat that everyone will love!
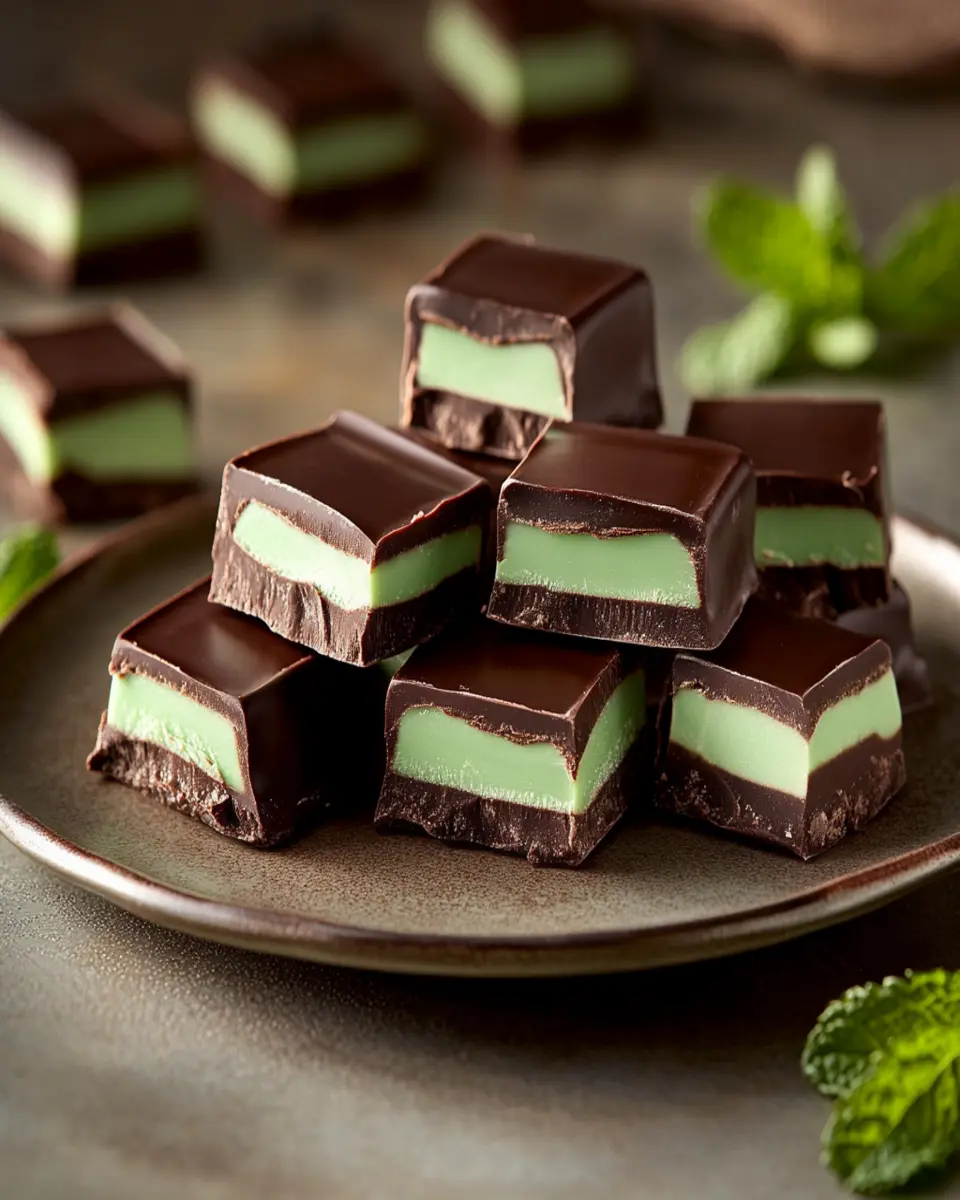
Serving Suggestions
Homemade Andes mints are not only delicious on their own but can also be enjoyed in a variety of creative ways. Whether you’re hosting a gathering, looking for a sweet treat, or simply indulging yourself, these suggestions will elevate your minty delights.
Pair with Coffee or Tea
One of the simplest and most satisfying ways to enjoy your homemade Andes mints is by pairing them with a cup of coffee or tea. The rich chocolate and refreshing mint flavors complement the robust notes of coffee and the soothing qualities of tea perfectly. Imagine unwinding after a long day with a warm beverage and a few mints – pure bliss!
Dessert Platter
Consider presenting your homemade Andes mints on a dessert platter alongside other treats. They make an excellent addition to a selection of cookies, brownies, or even fruit. Their vibrant green color and elegant shape provide a beautiful contrast, making your dessert table visually appealing.
Gift Giving
Homemade Andes mints also make for a thoughtful gift. Package them in decorative boxes or jars, and they become a delightful present for friends and family on special occasions or just because. Attach a cute note, and you have a sweet surprise that shows you care.
These serving suggestions will help you get the most out of your homemade Andes mints, making them an enjoyable treat for any occasion!
Time Breakdown
Making homemade Andes mints is quick and easy, allowing you to enjoy these delightful treats in no time.
Preparation
In just 20 minutes, you can gather and measure all your ingredients, making sure everything is ready for mixing.
Cooking/Baking
The cooking time is a swift 10 minutes, during which you melt the chocolate and combine it with the other ingredients to create a creamy filling.
Total
In total, you’ll spend about 30 minutes preparing and setting your Andes mints, making this a perfect recipe for busy young professionals looking for a delicious homemade treat. To save time, consider prepping your ingredients ahead of time for an even quicker process!
Nutritional Facts
Homemade Andes mints are not only delicious but also provide a satisfying treat without excessive guilt. Each serving, which consists of two pieces, contains approximately 100 calories, making them an enjoyable addition to your dessert repertoire without derailing your dietary goals.
Breakdown of Nutritional Values
In every serving, you’ll find about 12 grams of sugar, which gives these mints their sweet flavor. They also contain 5 grams of fat, primarily from the chocolate, with 3 grams being saturated fat. With 13 grams of carbohydrates and minimal protein, these mints are best enjoyed in moderation. If you’re watching your sodium intake, you’ll be pleased to know they contain only 5 milligrams per serving.
These treats are suitable for vegetarians and can be a delightful way to satisfy a sweet craving while providing a refreshing minty kick. The balance of chocolate and mint makes them a favorite for many, ensuring they are not just a treat but a delightful experience.
FAQ based on ‘People Also Ask’
How long do homemade Andes mints last?
Homemade Andes mints can be stored in an airtight container for up to two weeks. To maintain their freshness and flavor, it’s best to keep them in a cool, dry place away from direct sunlight.
Can I freeze homemade Andes mints?
Yes! You can freeze homemade Andes mints for longer storage. Just make sure to wrap them tightly in plastic wrap or place them in a freezer-safe container. When you’re ready to enjoy them, let them thaw in the refrigerator to preserve their texture.
Can I use different types of chocolate for Andes mints?
Absolutely! While semi-sweet chocolate chips are traditional, you can experiment with dark chocolate for a richer flavor or white chocolate for a sweeter version. Each type brings a unique taste to your homemade Andes mints.
How can I make the mint flavor stronger?
If you prefer a more intense mint flavor, simply increase the amount of peppermint extract in your recipe. Start with an additional 1/4 teaspoon and adjust according to your taste preference. This allows you to customize your mints to suit your palate.
These FAQs not only address common questions but also provide helpful insights for creating the perfect homemade Andes mints.
Conclusion
Homemade Andes mints are a delightful treat that combines a creamy mint filling with a rich chocolate coating, perfect for satisfying your sweet cravings. This easy no-bake recipe allows you to whip up a batch in just 30 minutes, making it ideal for young professionals and busy homemade-food lovers alike.
The flexibility of this recipe means you can customize the mint flavor to your liking or even experiment with different types of chocolate. Whether you’re making them for a party, gifting them to friends, or simply indulging yourself, these mints are sure to impress.
With a shelf life of up to two weeks when stored properly, you can enjoy these delightful mints over time. So why not gather your ingredients and create a batch of these homemade Andes mints today? They’re not just a treat; they’re an experience worth sharing. Cook, save, and share this recipe with friends and family for a sweet moment together!
Print
Homemade Andes Mints
Delicious homemade Andes mints with a creamy mint filling and rich chocolate coating.
- Total Time: 30 minutes
- Yield: 24 pieces 1x
Ingredients
- 2 cups chocolate chips
- 1 cup sweetened condensed milk
- 1 teaspoon peppermint extract
- 2 cups powdered sugar
- 1 tablespoon unsweetened cocoa powder
Instructions
- In a saucepan, melt chocolate chips over low heat.
- In a mixing bowl, combine sweetened condensed milk and peppermint extract.
- Slowly add melted chocolate to the mixture.
- Stir in powdered sugar and cocoa powder until well combined.
- Spread the mixture into a greased pan and refrigerate until set.
- Once set, cut into squares.
- Serve as a sweet treat.
Notes
- Store in an airtight container for up to two weeks.
- For a stronger mint flavor, increase the peppermint extract.
- Prep Time: 20 minutes
- Cook Time: 10 minutes
- Category: Dessert
- Method: No-bake
- Cuisine: American
- Diet: Vegetarian
Nutrition
- Serving Size: 2 pieces
- Calories: 100
- Sugar: 12g
- Sodium: 5mg
- Fat: 5g
- Saturated Fat: 3g
- Unsaturated Fat: 1g
- Trans Fat: 0g
- Carbohydrates: 13g
- Fiber: 0g
- Protein: 1g
- Cholesterol: 0mg